I have planned to write Cisco labs which will help those preparing for CCNA exam and will be a quick guide for Cisco users.
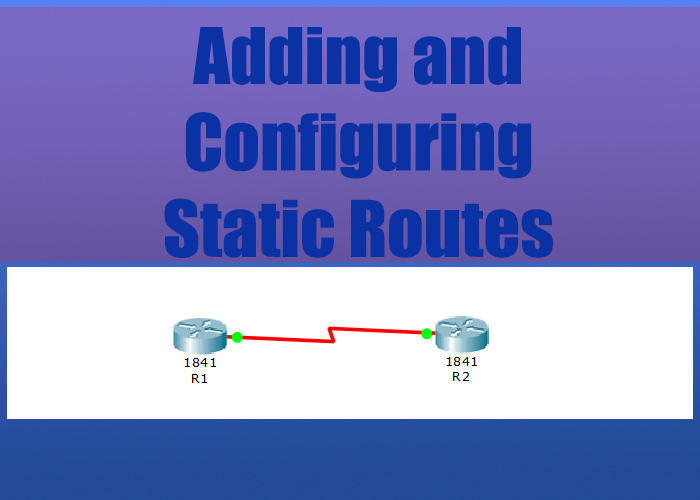
This is our first simple lab and will move on to the complex one’s following in this series of labs. This lab simply demonstrates how to use and configure a router’s host name using Cisco Packet Tracer. Before moving further make sure you have Cisco Packet Tracer downloaded and installed.
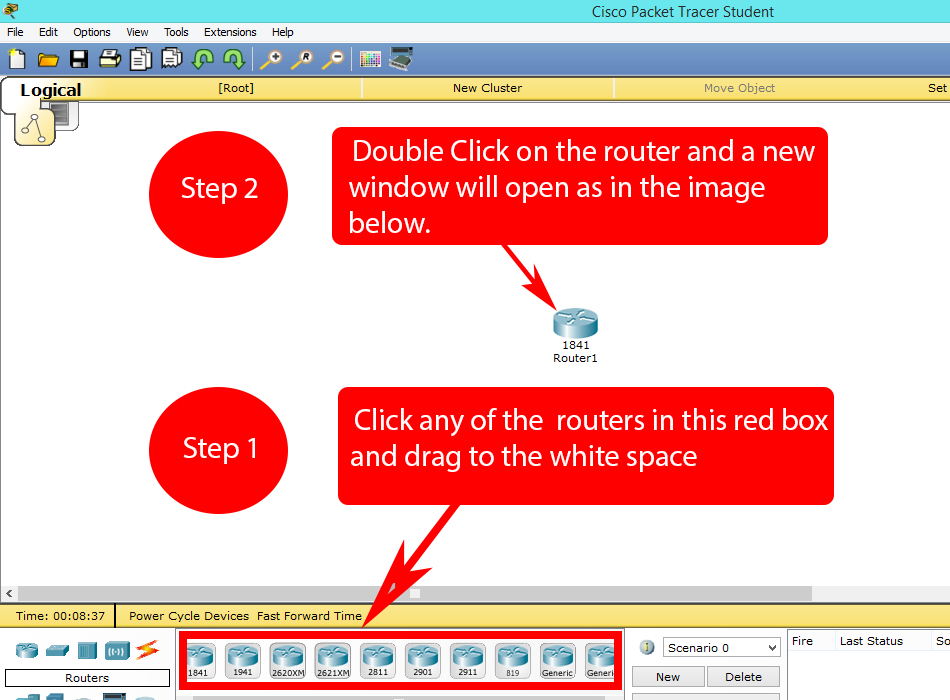
Step 1:
Open Packet Tracer.
Step 2:
Now click the router icon in the left bottom corner, all the routers will be displayed in the bottom middle section.
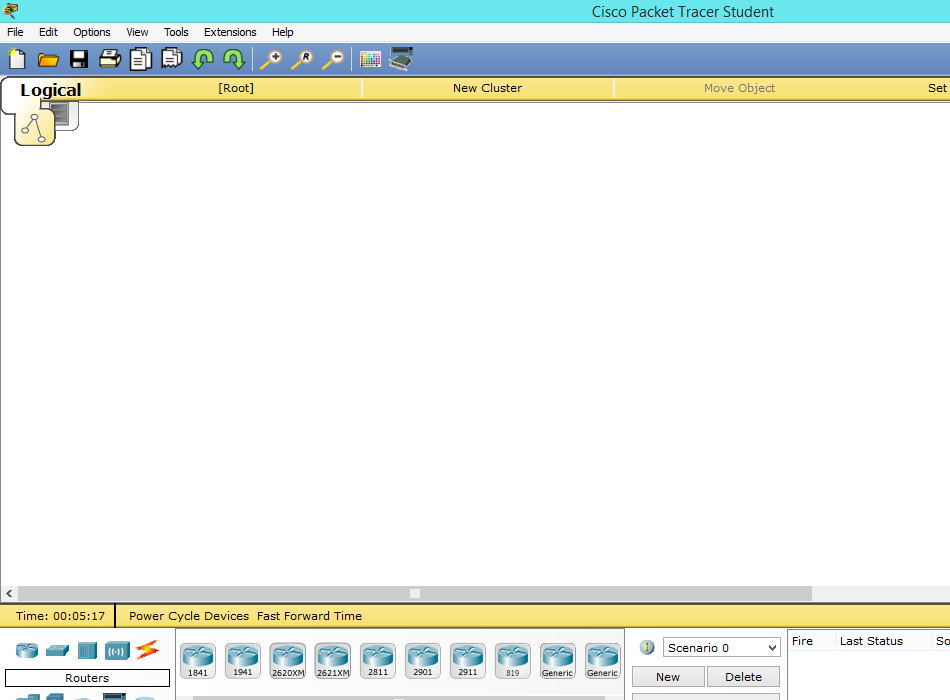
After completing the steps mentioned in the above image a new window will appear.
Step 3:
Set your router host name and router display name. Router host name is the name which you will see in the command line interface for all of your routers in a network, while Router Display name is used for visually identifications of your routers.

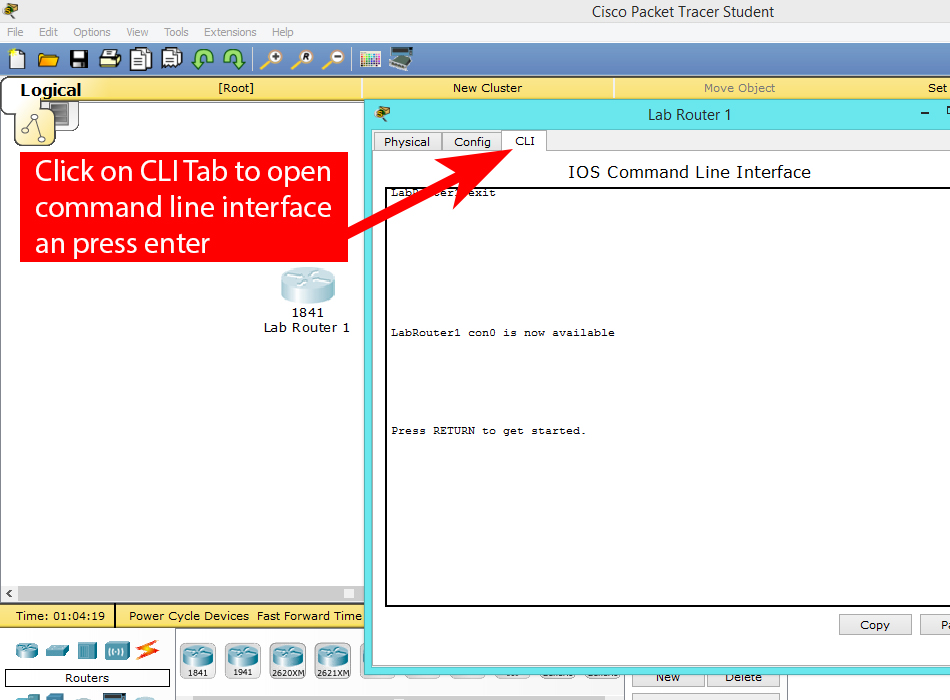
Step 4:
For CCNA using command line interface is recommended, click on the CLI tab for opening command line interface.
Step 5:
For renaming / setting router host name you should be in Global Configuration Mode (for more about Cisco Router Modes visit Cisco Router Modes) ,
hostname yourDesiredName is the command you enter for changing host name.
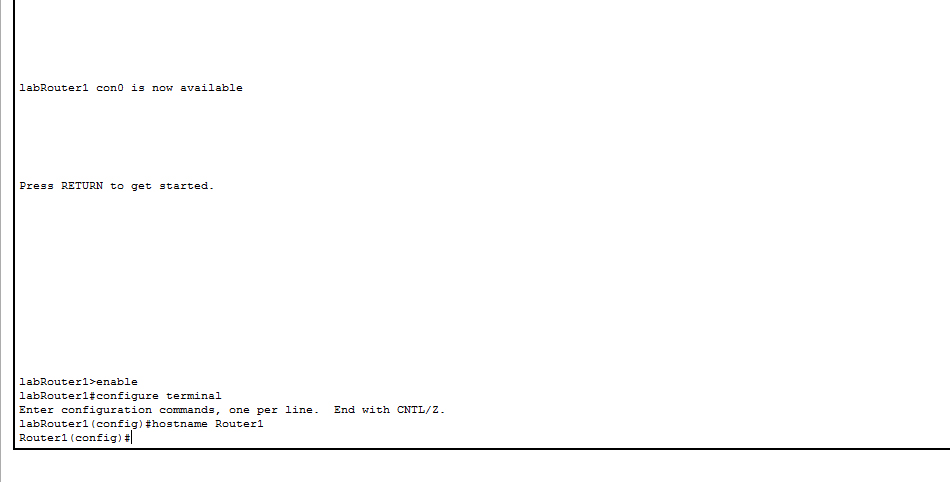
Our host name was labRouter1 and our prompt was labRouter1(config)# before executing this command ( labRouter1(config)# hostname Router1 ), notice that our prompt changes to Router1(config)#, confirming the change of our router host name.


A router or switch must have its identity established to be accessible on the network to other devices.
A router or switch must have its identity established to be accessible on the network to other devices.
this router name will be changed when it is turned off
use this code in the administrative mode after you did the all changes.
“copy running-config startup-config”