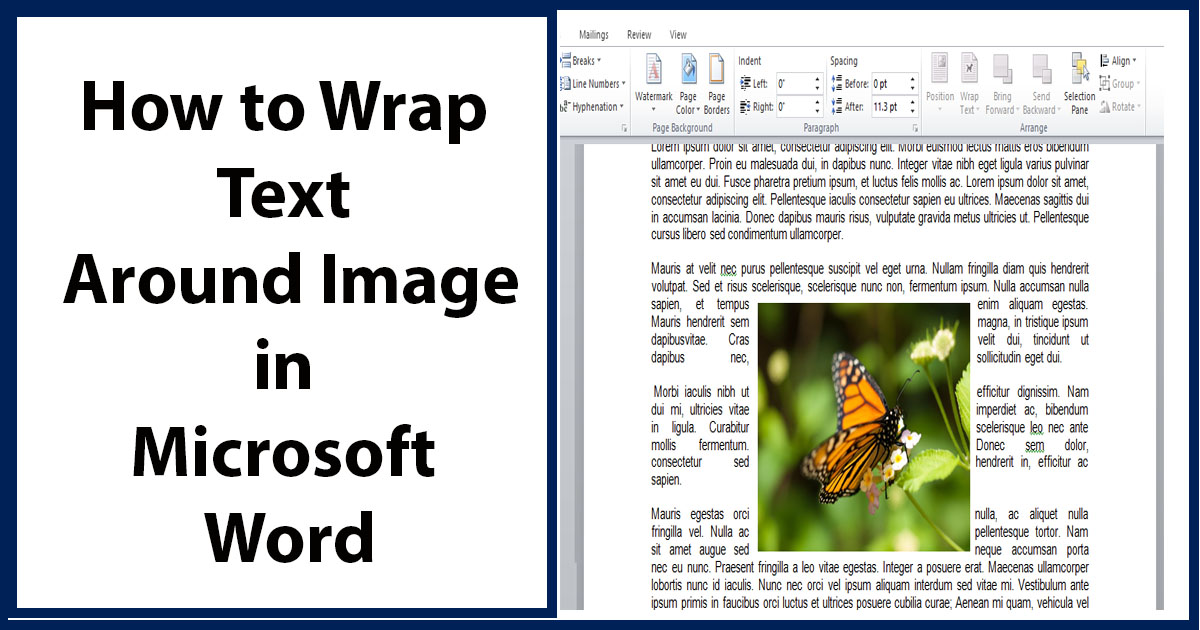
Images or pictures inserted in word have empty space on the right and left, if its width is less than the width of the word document. We will show you how to fill this space with text by wrapping text in word around picture or any graphics.
Steps to wrap text in word:
1. Insert your desired graphics in your word document.
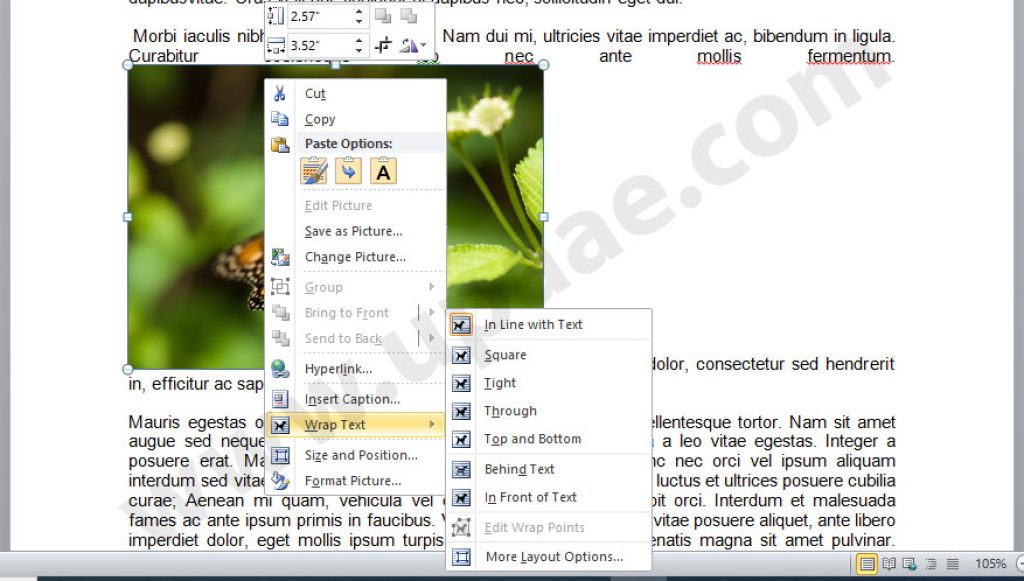
2. Right click on the image or picture.
3. Place your cursor over Text wrap option in the right click (shortcut) menu and click on any option you like from the text wrap options.
Another way of wrapping text in word:
- Select you image or graphic bu clicking on it.
- Click on Page Layout tab from the top menu.
- Now click on Wrap Text and select an option which suits you.
Wrap Text in word with Edit Wrap Points:
If you are not satisfied with the results of the options in Wrap Text menu, you should try edit wrap points instead to achieve the results you want.
- Right click on the image, select Wrap Text from the shortcut menu.
- Now select Edit Wrap Points at the bottom from the Wrap Text options.
- Click on the points surrounding the image, and move these points to achieve desired results.
Learn more about Microsoft word and Microsoft Office here MS Office Tutorials .


