Adding clip arts to Ms Word document makes it reader friendly and graphics also helps the idea clear and easy to understand. This tutorial is all about inserting clip arts in Ms Word and making word document readers friendly.
Steps for inserting clip arts in Ms word:
1. Open your desired word document in which you want to add a clip art.
2. Place your cursor in the area where the clip art is to be inserted.
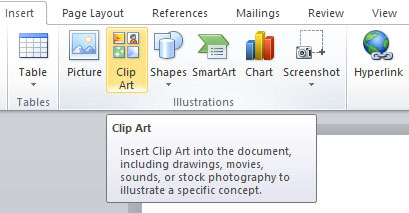
3. Select the Insert Tab from the top menu bar.

4. Select Clip Art from the Insert Menu, a small clip art window will appear at the right of word document.
5. Enter any name or keyword related to your clip art to search for and press Go button.
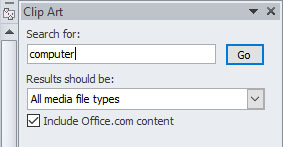
Note: From this menu you can insert or add any Photographs, Illustration, Audio and Video clip in word. By default All media file types option is selected but if you want to display search results only for a specific file type such as illustrations, un-check all the boxes except Illustrations check box.
6. Click on your desired clip art from the search results and the clip art will be inserted at the position of cursor.
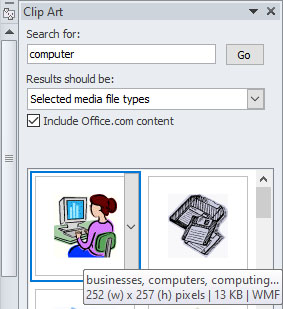
You can resize the clip art from the handles, if you cannot move your clip art freely, it is because of wrap text option.
How to Change Wrap Text Settings in Word:
The default Wrap Text option for clip arts and picture is “In Line With Text”, and when this option is selected you cannot move your clip art freely.
Right click on the newly added clip art or picture, select Wrap Text from the right click menu and then Square.
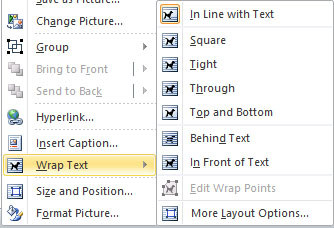
Now click and drag the clip art to any point you like.
Its done, hope that we helped you.


