Pictures are a great way to explain or emphasize a topic along the written text. MS word is an advanced text writing software which also enables us to include pictures and clip arts to help the readers better understand any topic. This tutorial is all about how to insert picture in ms word, inserting clip arts, formatting pictures and clip arts and working with wrap text.
How to Insert a Picture in Ms Word:
You can insert any picture in Ms Word, which is stored on your computer’s hard disk or flash drive.
1. Open your word document.
2. Move the cursor to the position where you want to insert picture.
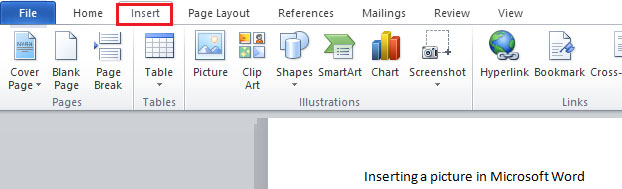
3. Click on the insert Tab located at the top menu of word document.
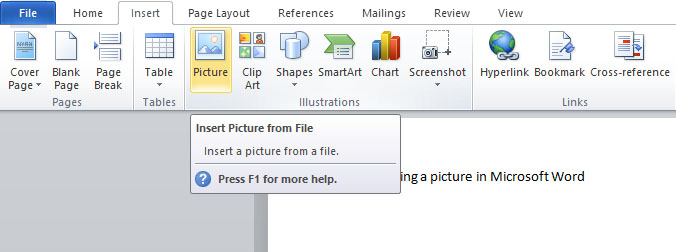
4. Now click on Picture icon under Insert Menu.
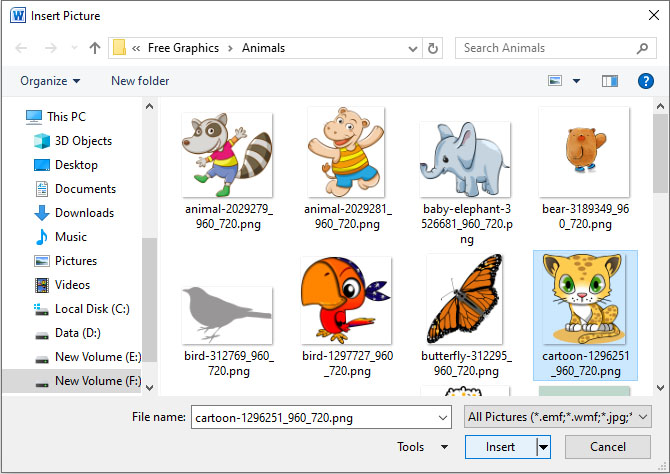
5. In the Insert Picture Pop-up window, Browse to the folder where your picture in located, select your desired picture and click insert button.
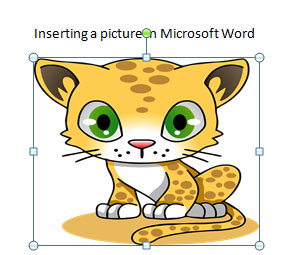
6. Adjust the picture size using handles and it is done.
Its that easy, enjoy adding pictures to your word documents.
Hope that you liked this post, support us by sharing this on social media with your friends.