Feeling a bit unsure about how to install plugins on your WordPress site? You’re not alone! If you’re just getting started, the process can seem a little confusing at first. But don’t worry we are here to make this process as simple and as easy as possible — plugins are what make WordPress so flexible and powerful.
Even a site or blog with a free WordPress theme can be transformed into a highly professional looking site when used with the correct plugins installed. And the beauty of WordPress is that you are likely to find lots of plugins (both Free and Paid) for almost every functionality you imagine. There are plugins almost for every thing you can imagine, from adding contact-forms to your blog, building a full fledged eCommerce store, securing your blog, adding sections to your blog, boosting SEO, adding forms functionality and many more. Plugins can help you do all that and more — with no coding required!
We have written this guide to help out every beginner who want to learn how to install plugins in WordPress, and we’re here to make it easy for you too. In this beginner-friendly guide, we’ll go over the different ways you can install a WordPress plugin.
A Quick Note Before You Begin
If you want to install plugins on your WordPress blog/site, you should must have a WordPress hosting or any web hosting with any Hosting Provider(BlueHost, Interserver.net etc) who supports WordPress.
You will not be able to install any plugin if you’re using WordPress.com, unless you’re on the Business plan or higher. This is a common issue we see — users often wonder why they can’t find the “Plugins” option in their dashboard. The reason is simple: WordPress.com has limitations.
But if you’re using self-hosted WordPress.org, you’re good to go — you can install any plugin you like.
Overview of Methods to Install a Plugin
Here’s what we’ll cover:
- Method 1: Installing via Plugin Search in WordPress
- Method 2: Uploading a Plugin Through the Admin Panel
- Method 3: Manual Installation Using FTP
- Frequently Asked Questions
- Video Tutorial (for visual learners!)
Let’s dive in!
✋ Need a Hand?
If you’d rather not mess with plugin installation yourself, no problem — Our Experts at Upaae.com/contact-us can do it for you! Our WordPress Support Services can take care of plugin installations, fix plugin issues, set up themes, and much more. Let the experts handle it while you focus on your content.
Method 1: Install a Plugin Using WordPress Plugin Search
When you install WordPress and choose a theme according to your needs, you are ready to write and post your content. But if you want to add extra functionality to your blog you need to install WordPress plugins. Assuming that you have already installed WordPress on your hosting account and now you want to add schema markups to your blog/website.
Schema markup helps in improving Search Engine Result Pages SERPs Visibility. Pages with schema markup tends to stand out and encourages higher click-through rate etc. Follow the steps below and you will be able to install any plugin available in WordPress directory.
This is the most beginner-friendly way to install a plugin — it’s fast and easy. Just remember: it only works for free plugins listed in the official WordPress directory.
- Go to your WordPress dashboard.
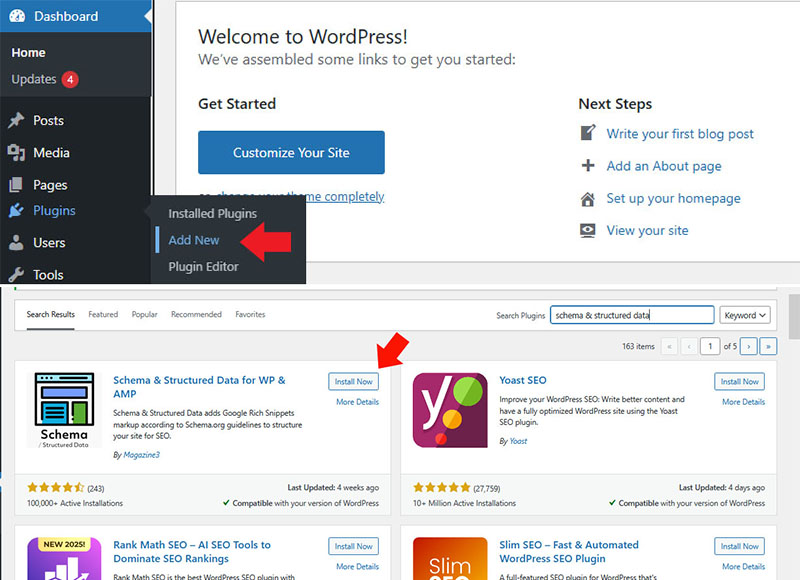
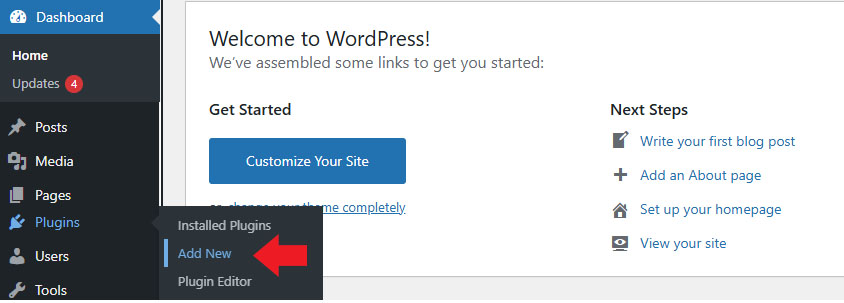
- Navigate to Plugins » Add New.
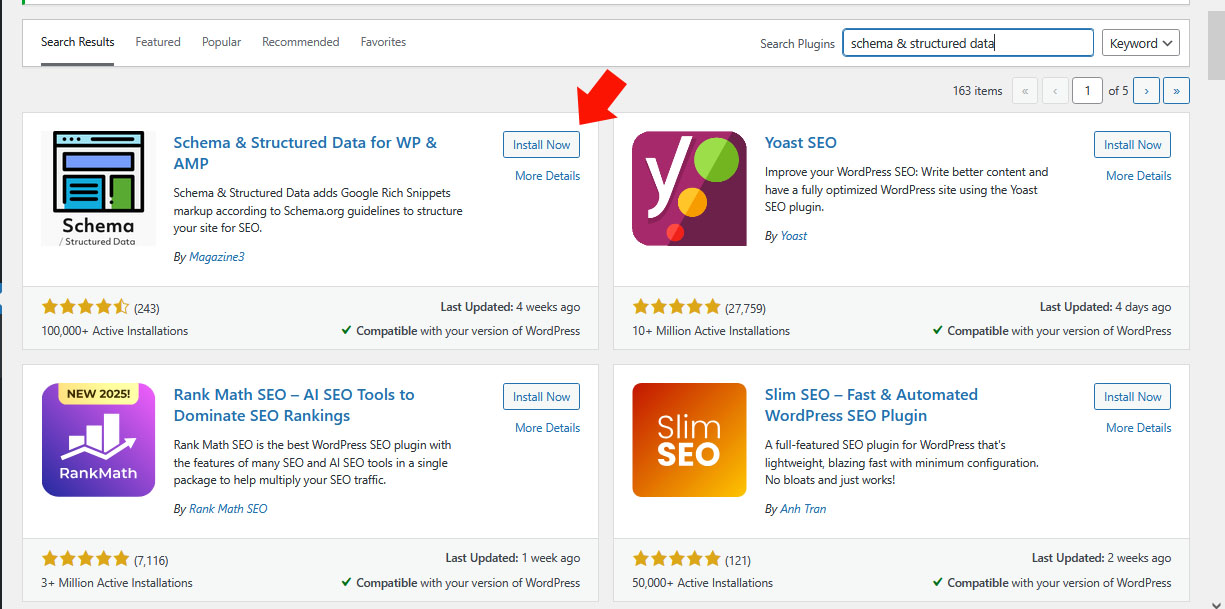
- Use the search bar to find the plugin you want. For example, type in “Schema & Structured data.”
4. When you find it, click the Install Now button.
5. Once it’s installed, click Activate to start using it.
🎉 And that’s it — your first plugin is live!
Each plugin will have its own settings, so be sure to configure those based on what you need. We won’t go into the details here, since settings vary from plugin to plugin.
Method 2: Upload a Plugin from Your Computer (Admin Plugin Upload)
Paid plugins or premium plugins can’t be found in the WordPress plugin directory. So, to install them, you’ll need to upload them manually.
That’s where the upload feature in WordPress comes in handy — it lets you install premium plugins that aren’t available in the official plugin directory. In this part of the guide, we’ll walk you through how to use the upload option within your WordPress dashboard.
Start by downloading the plugin from the website where you purchased it. You’ll get a ZIP file — don’t extract it.
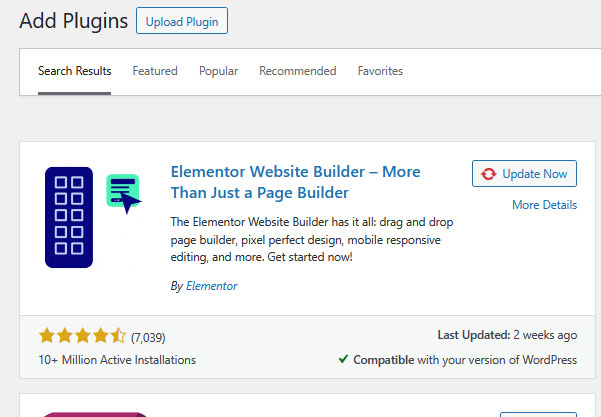
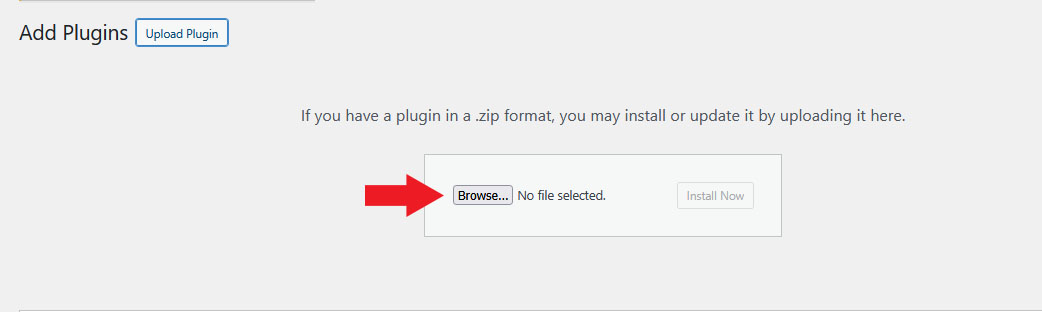
Then, head over to your WordPress admin area and go to Plugins » Add New. Once you’re there, simply click the ‘Upload Plugin’ button located at the top of the page.
Click on the Browse button and Select the zip file from your computer and click Install Now button.
After installation, click Activate Plugin to start using it.
The next step is to customize the plugin’s settings based on what you need. Since each plugin has its own unique options and setup process, we won’t be diving into those details in this post.
Method 3: Manually Install a WordPress Plugin Using FTP
Sometimes your web hosting provider might block plugin installations via the admin area. In that case, FTP is your friend — although it’s a bit more technical.
When this happens, the alternative is to install the plugin manually via FTP. Keep in mind, though, that this method can be a bit more technical—especially for beginners.
To start, download the plugin’s zip file and extract it on your computer. This will create a folder with the plugin’s name, which you’ll need to upload manually.
Next, ensure you have access to your hosting account through an FTP client. If you don’t have your FTP username and password, reach out to your hosting provider for assistance.
Once you have your FTP credentials and the extracted plugin folder ready, open your FTP client and connect to your website using the login details.
After connecting, navigate to the /wp-content/plugins/ directory on your server, and upload the extracted plugin folder into that location.
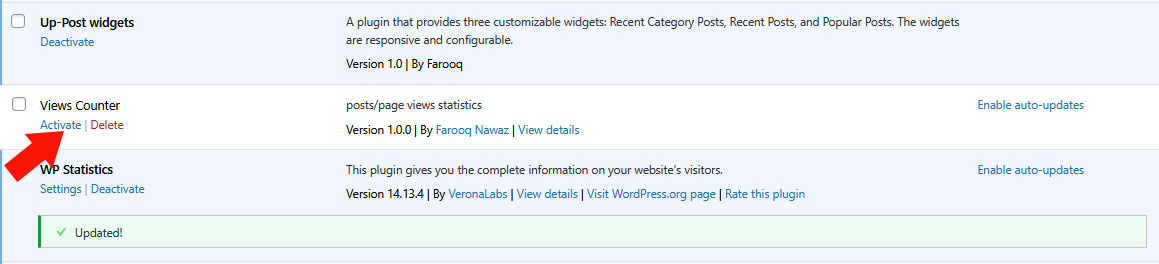
Once the plugin files are uploaded, head over to your WordPress dashboard and click on the ‘Plugins’ menu.
You’ll find your newly installed plugin listed there. To enable it, simply click the ‘Activate’ link beneath its name, and you’re all set to start using it.
Once activated, you can configure it as needed.
Method 4 Using cPanel file manager
If you don’t want to use any FTP client don’t worry, you can upload any files or plugins to your wordpress website using the File Manager in cPanel. First make sure your hosting provider supports cPanel.
Uploading a plugin through cPanel File Manager requires cPanel access, if you don’t have your cPanel access contact your hosting provider and get cPanel access.
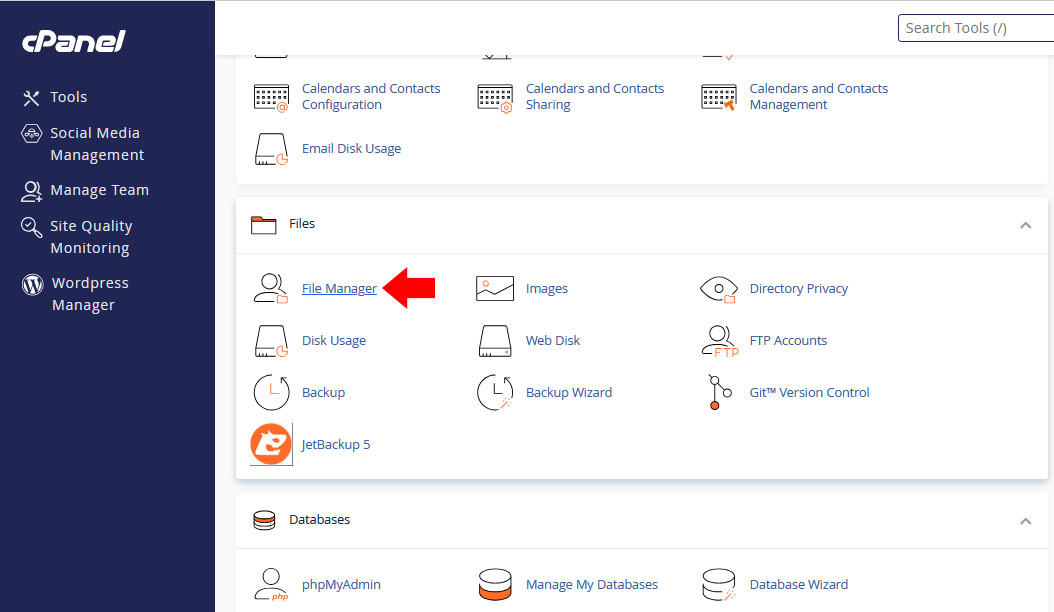
Log in to your cPanel, locate for File Manager and click File Manager.
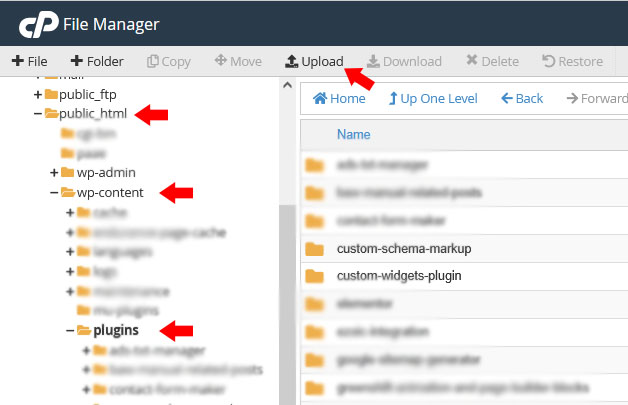
Now select public_html and then wp-content and then plugins directory.
When the plugins directory is selected click on the upload button at the top menu.
Select your plugin zip file and upload.
you can also make a new folder in the plugins directory with the plugin name and then upload plugin files separately.
When plugin is uploaded extract its file by selecting the zip file and clicking on the extract button from the top menu.
Go to WordPress dashboard->Plugins and activate the plugin, and configure it according to your needs.
FAQs About Installing WordPress Plugins
Here are some common questions we get from beginners:
1. How do I find the best plugins for my site?
With over 59,000 free plugins in the official directory — and many premium ones out there — it can be hard to choose. We’ve created a curated list of essential WordPress plugins for most websites. You can also check out our guide on how to choose the best WordPress plugins.
2. What’s the difference between installed and active plugins?
Installing a plugin doesn’t mean it’s working — you need to activate it. Active plugins have a blue background in the plugin list. Installed (but inactive) plugins have a white background. Some plugins may also display a message like “Upgrade to Pro.”
3. Should I delete plugins I’m not using?
Yes! Inactive plugins can still pose a security risk. If you’re not using it, delete it. Check out our post on why you should remove inactive plugins.
4. How many plugins can I install?
There’s no hard limit. What matters is quality over quantity. Poorly-coded plugins can slow down your site — even if you only have a few. Read more about how many plugins are too many.
5. How do I uninstall a plugin?
- Go to the Plugins page.
- Deactivate the plugin (if it’s active).
- Click Delete to remove it completely.
You can see our full tutorial on how to properly uninstall a WordPress plugin for more details.
6. Is it okay to use outdated plugins?
Not really. Outdated plugins can cause security, compatibility, and performance issues. It’s always best to use well-maintained plugins that get regular updates.
And there you have it! You now know several ways to install WordPress plugins — whether you want to go the easy route through the dashboard, upload a premium plugin, or manually install via FTP.
Still have questions? Drop them in the comments or check out the rest of our beginner-friendly WordPress tutorials!