If you are a regular user of Ms Word, you may have added pictures and images to your Microsoft word documents, but did you knew about making your images or pictures transparent? Don’t worry in this tutorial we are going to share the steps for changing transparency or opacity of any images inserted in Microsoft word Document.
To change the transparency or opacity of an image or picture in Microsoft Word, first we will create a shape and then will add the desired image or picture as the texture or fill of the selected shape.
Tip: You can apply this technique also in Microsoft Excel.
Steps for making picture transparent in Ms Word:
Open your Microsoft word document in which you want to make pictures transparent and follow the steps below.
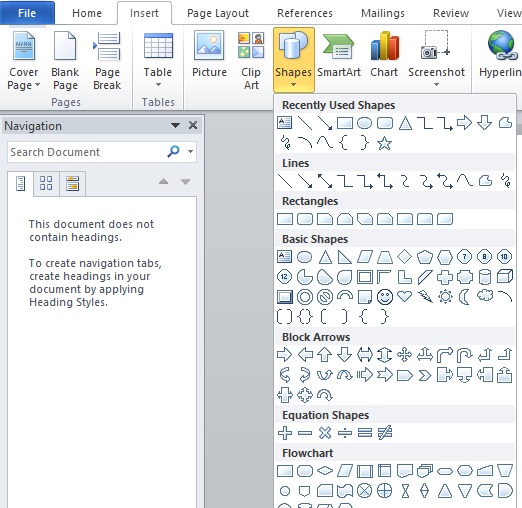
From the top menu Click on Insert Tab.

Now Click on the Shapes Button and select a shape, we have selected Rounded Rectangle shape. Select a shape from the existing shapes or create you own custom shape which you like.

Now Draw your desired shape in your word document, where you want the image to insert.
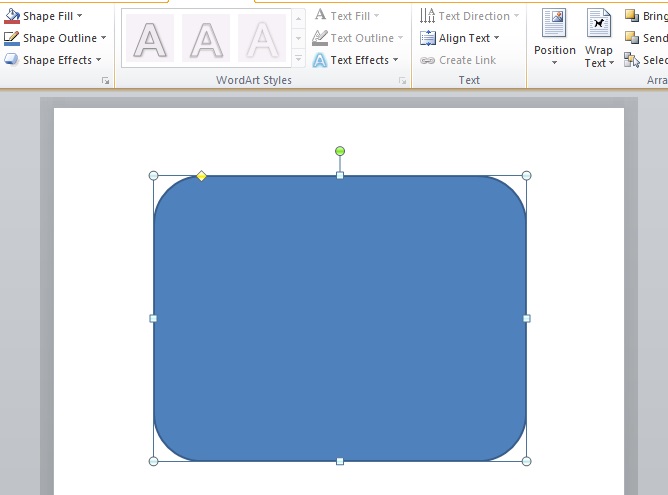
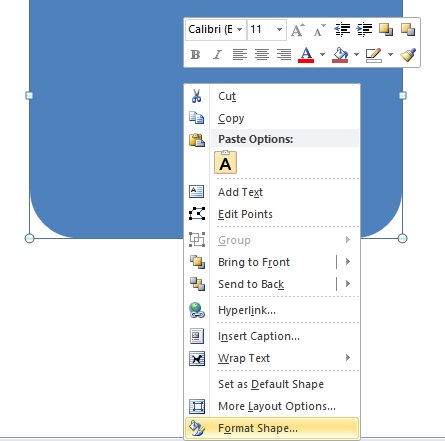
Select the Shape, Right Click on it and then select Format Shape from the menu.
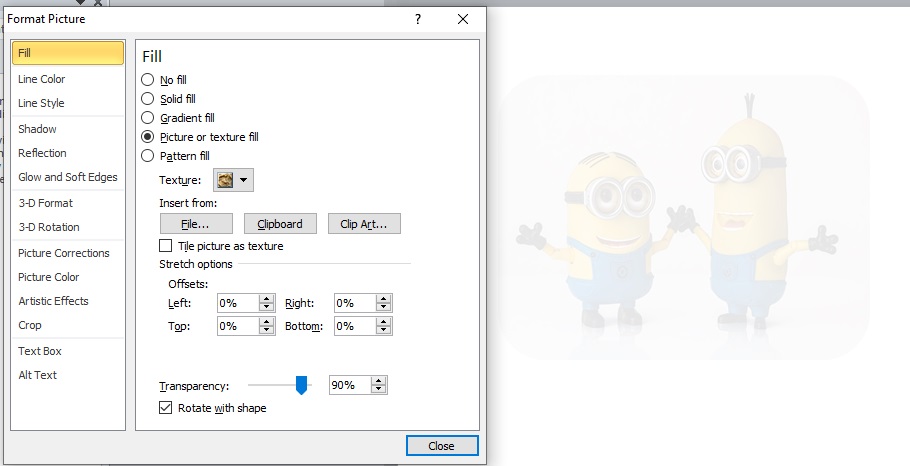
A new Format Shape pop up window will open, From the Format Shape window select Picture or Texture fill radio button and then click on the File button Under the Insert From Label. Browse and Select your desired image and click Insert.
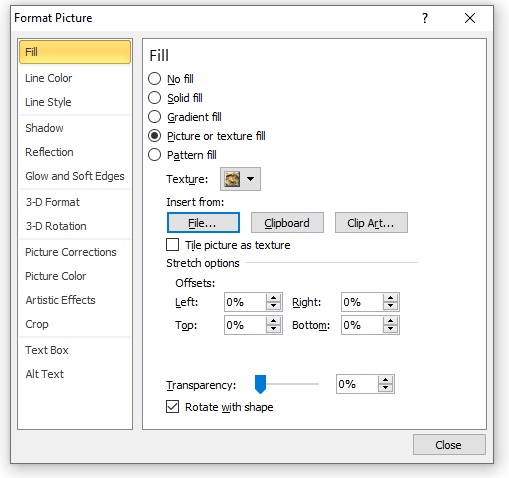
If Format Shape window is on top of your shape, drag it to side so that you can watch your image inserted. As you can see we have inserted a picture of minions and will adjust its transparency.
Now slide the Transparency slider to right for making your picture transparent, the more you move the slider to right the more transparent your picture will be.
That’s it, if you liked this, please share with your friends on social media.


