Follow the following steps for a clean installation of Windows Server 2012:
- Setup program can be started by the following methods:
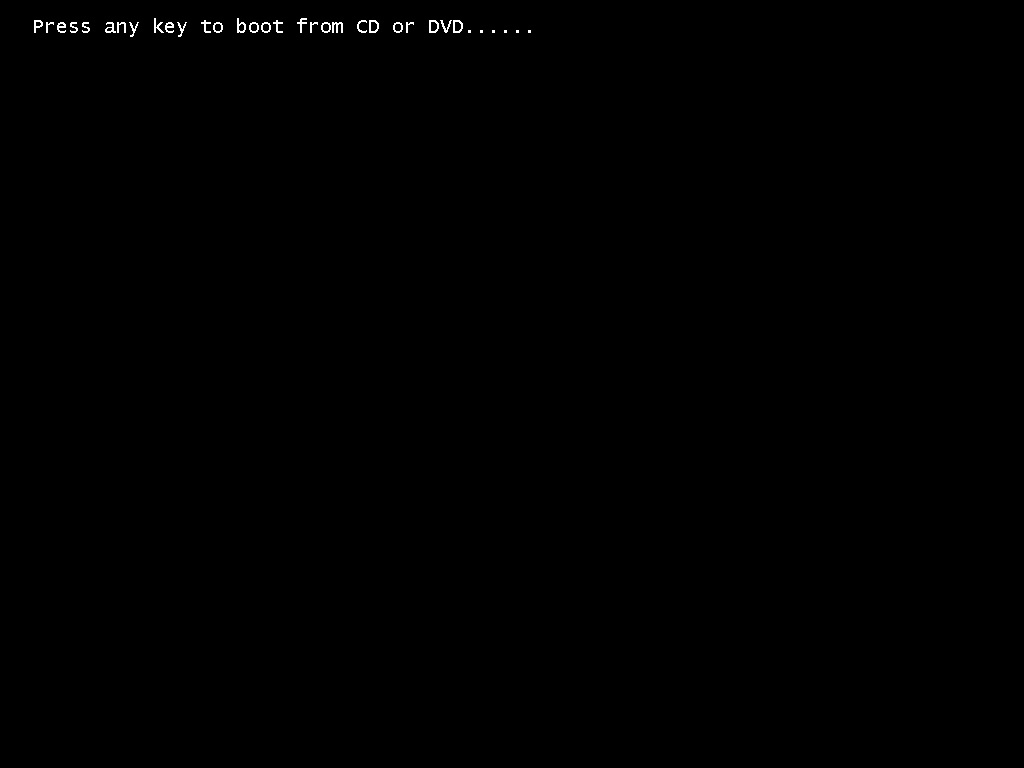
For a clean installation of windows server 2012 on a system with no previously installed operating system, insert Windows Server 2012 distribution media in the computer’s disc drive and turn on the computer/server, and then press any key when the screen appears asking for “Press any key” to start Setup from your media. If you are not prompted to boot from the disc drive, you might need to select advanced boot options and then boot from media rather than hard disk, or you might need to change the computer’s firmware settings to allow booting from media.
- If you want a clean installation over an existing installation, you have two options, booting from the distribution media, or start and log on to the computer with administrator account.Inserting the Windows Server 2012 distribution media into the computer’s disc drive, Setup will start automatically. If Setup doesn’t start automatically, use File Explorer to access the distribution media and then double-tap or double-click Setup.exe.
2. If you started the computer using the distribution media, choose your language, time, and currency formats and keyboard layout when prompted. Only one keyboard layout is available during installation. If your keyboard language and the language edition of Windows Server 2012 you are installing are different, you might see unexpected characters as you type. Be sure that you select the correct keyboard language to avoid this. When you are ready to continue with the installation, tap or click Next.
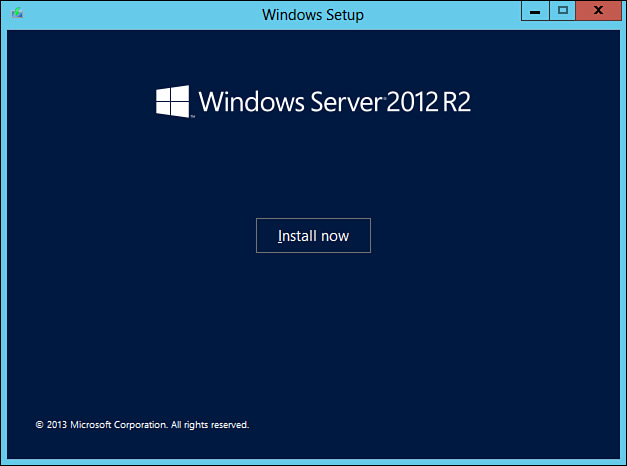
3. On the next Setup page, note that you have several options: Install Now By tapping or clicking Install Now, you can start the installation.
4. If you are starting the installation from an existing operating system and are connected to a network or the Internet, choose whether to get updates during the installation. Tap or click either Go Online To Get The Latest Updates For Setup or Do Not Get The Latest Updates For Setup.
5. With volume and enterprise licensed editions of Windows Server 2012, you might not need to provide a product key during installation of the operating system. With retail editions, however, you’ll be prompted to enter a product key, and then tap or click Next to continue.
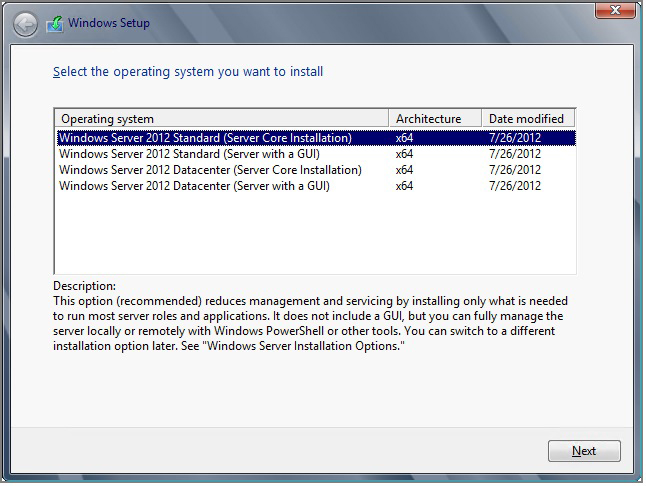
6. You need to choose whether to perform a Server With A GUI installation or a Server Core installation. If you selected to continue without entering a product key, you’ll next need to select the edition of Windows Server 2012 to install as well. Although Setup will allow you to choose any edition, it is important to choose the edition that you purchased. If you choose the wrong edition, you will need to purchase that edition or reinstall the correct edition.
7. The license terms for Windows Server 2012 have changed from previous releases of Windows. When prompted, review the license terms. Select the I Accept The License Terms check box, and then tap or click Next.
8. On the Which Type Of Installation Do You Want page, you need to select the type of installation you want Setup to perform. Because you are performing a clean installation to completely replace an existing installation or configure a new computer, select Custom (Advanced) as the installation type. If you started Setup from the boot prompt rather than from within Windows itself, the upgrade option is disabled. To upgrade rather than perform a clean install, you need to restart the computer and boot the currently installed operating system. After you log on, you then need to start the installation.
9. On the Where Do You Want To Install Windows page, you need to select the disk or disk and partition on which you want to install the operating system. Windows Server 2012 requires between 10 and 40 GBs of disk space for installation. Keep the following in mind: When a computer has a single hard disk with a single partition encompassing the whole disk, the whole disk partition is selected by default and you can tap or click Next to choose this as the install location.
10. If the partition you selected contains a previous Windows installation, Setup provides a prompt stating that existing user and application settings will be moved to a folder named Windows.old and that you must copy these settings to the new installation to use them. Tap or click OK.
11. Tap or click Next. Setup starts the installation of the operating system. During this procedure, Setup copies the full disk image of Windows Server 2012 to the location you selected and then expands it. Afterward, Setup installs features based on the computer’s configuration and detected hardware. This process requires several automatic restarts. When Setup finishes the installation, the operating system will be loaded and you’ll see the logon screen. After you enter and confirm a password for the administrator account, you can log on.
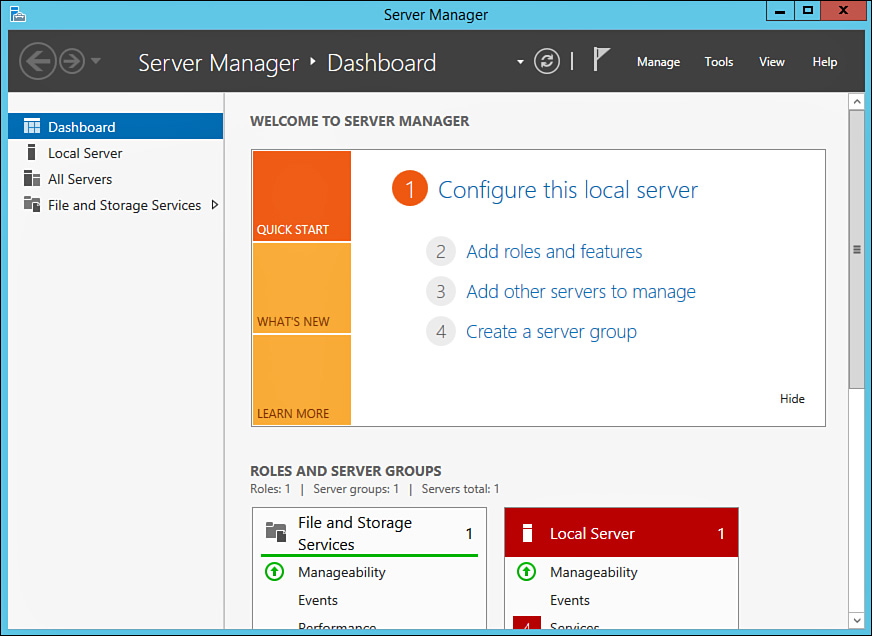
12. Perform initial configuration tasks using Server Manager, such as setting the computer name and administrator password.
